Result Access Portal: Published results are accessible at results.acadine.aiStudents use their provided username and password to view their complete result marksheet.
Overview
The result publishing workflow is simple and flexible:- Prepare Excel file - One file with all student data (only requirement: User ID column)
- Design DOCX template - Create your report card design with placeholders for data
- Upload and publish - Upload both files, configure optional QR code, and publish
- Activate credentials - Bulk update student credentials so they can access results
1
Prepare Your Excel File
Create a single Excel file with all student data. The only requirement is including a User ID column.Requirements:
- Must include a User ID column (Acadine-generated student IDs)
- Can have any other columns in any order (Name, Class, Subjects, Marks, Grades, etc.)
- Column names can be anything you want
- One row per student (rows without User ID are ignored)
- If multiple sheets exist, only the first sheet will be used
Column letters (A, B, C…) are how you’ll reference data in your DOCX template. Keep track of which column contains which data.
2
Create Your DOCX Report Card Template
Design your report card template exactly as you want it to appear. Use placeholders to reference data from your Excel file.Template Design:
- Use complete creative freedom (formatting, tables, images, logos, colors, fonts)
- Reference Excel data using column letters:
{{A}},{{B}},{{AA}},{{AB}}, etc. - Add
{{REPORT_QR_CODE}}placeholder for QR code to detailed reports (optional) - Add
{{r REPORT_LINK}}placeholder for clickable hyperlink to detailed reports (optional) - Include school branding, headers, footers, signatures as desired
3
Upload and Publish Results
Navigate to the Publish Results screen in your admin dashboard and upload your files.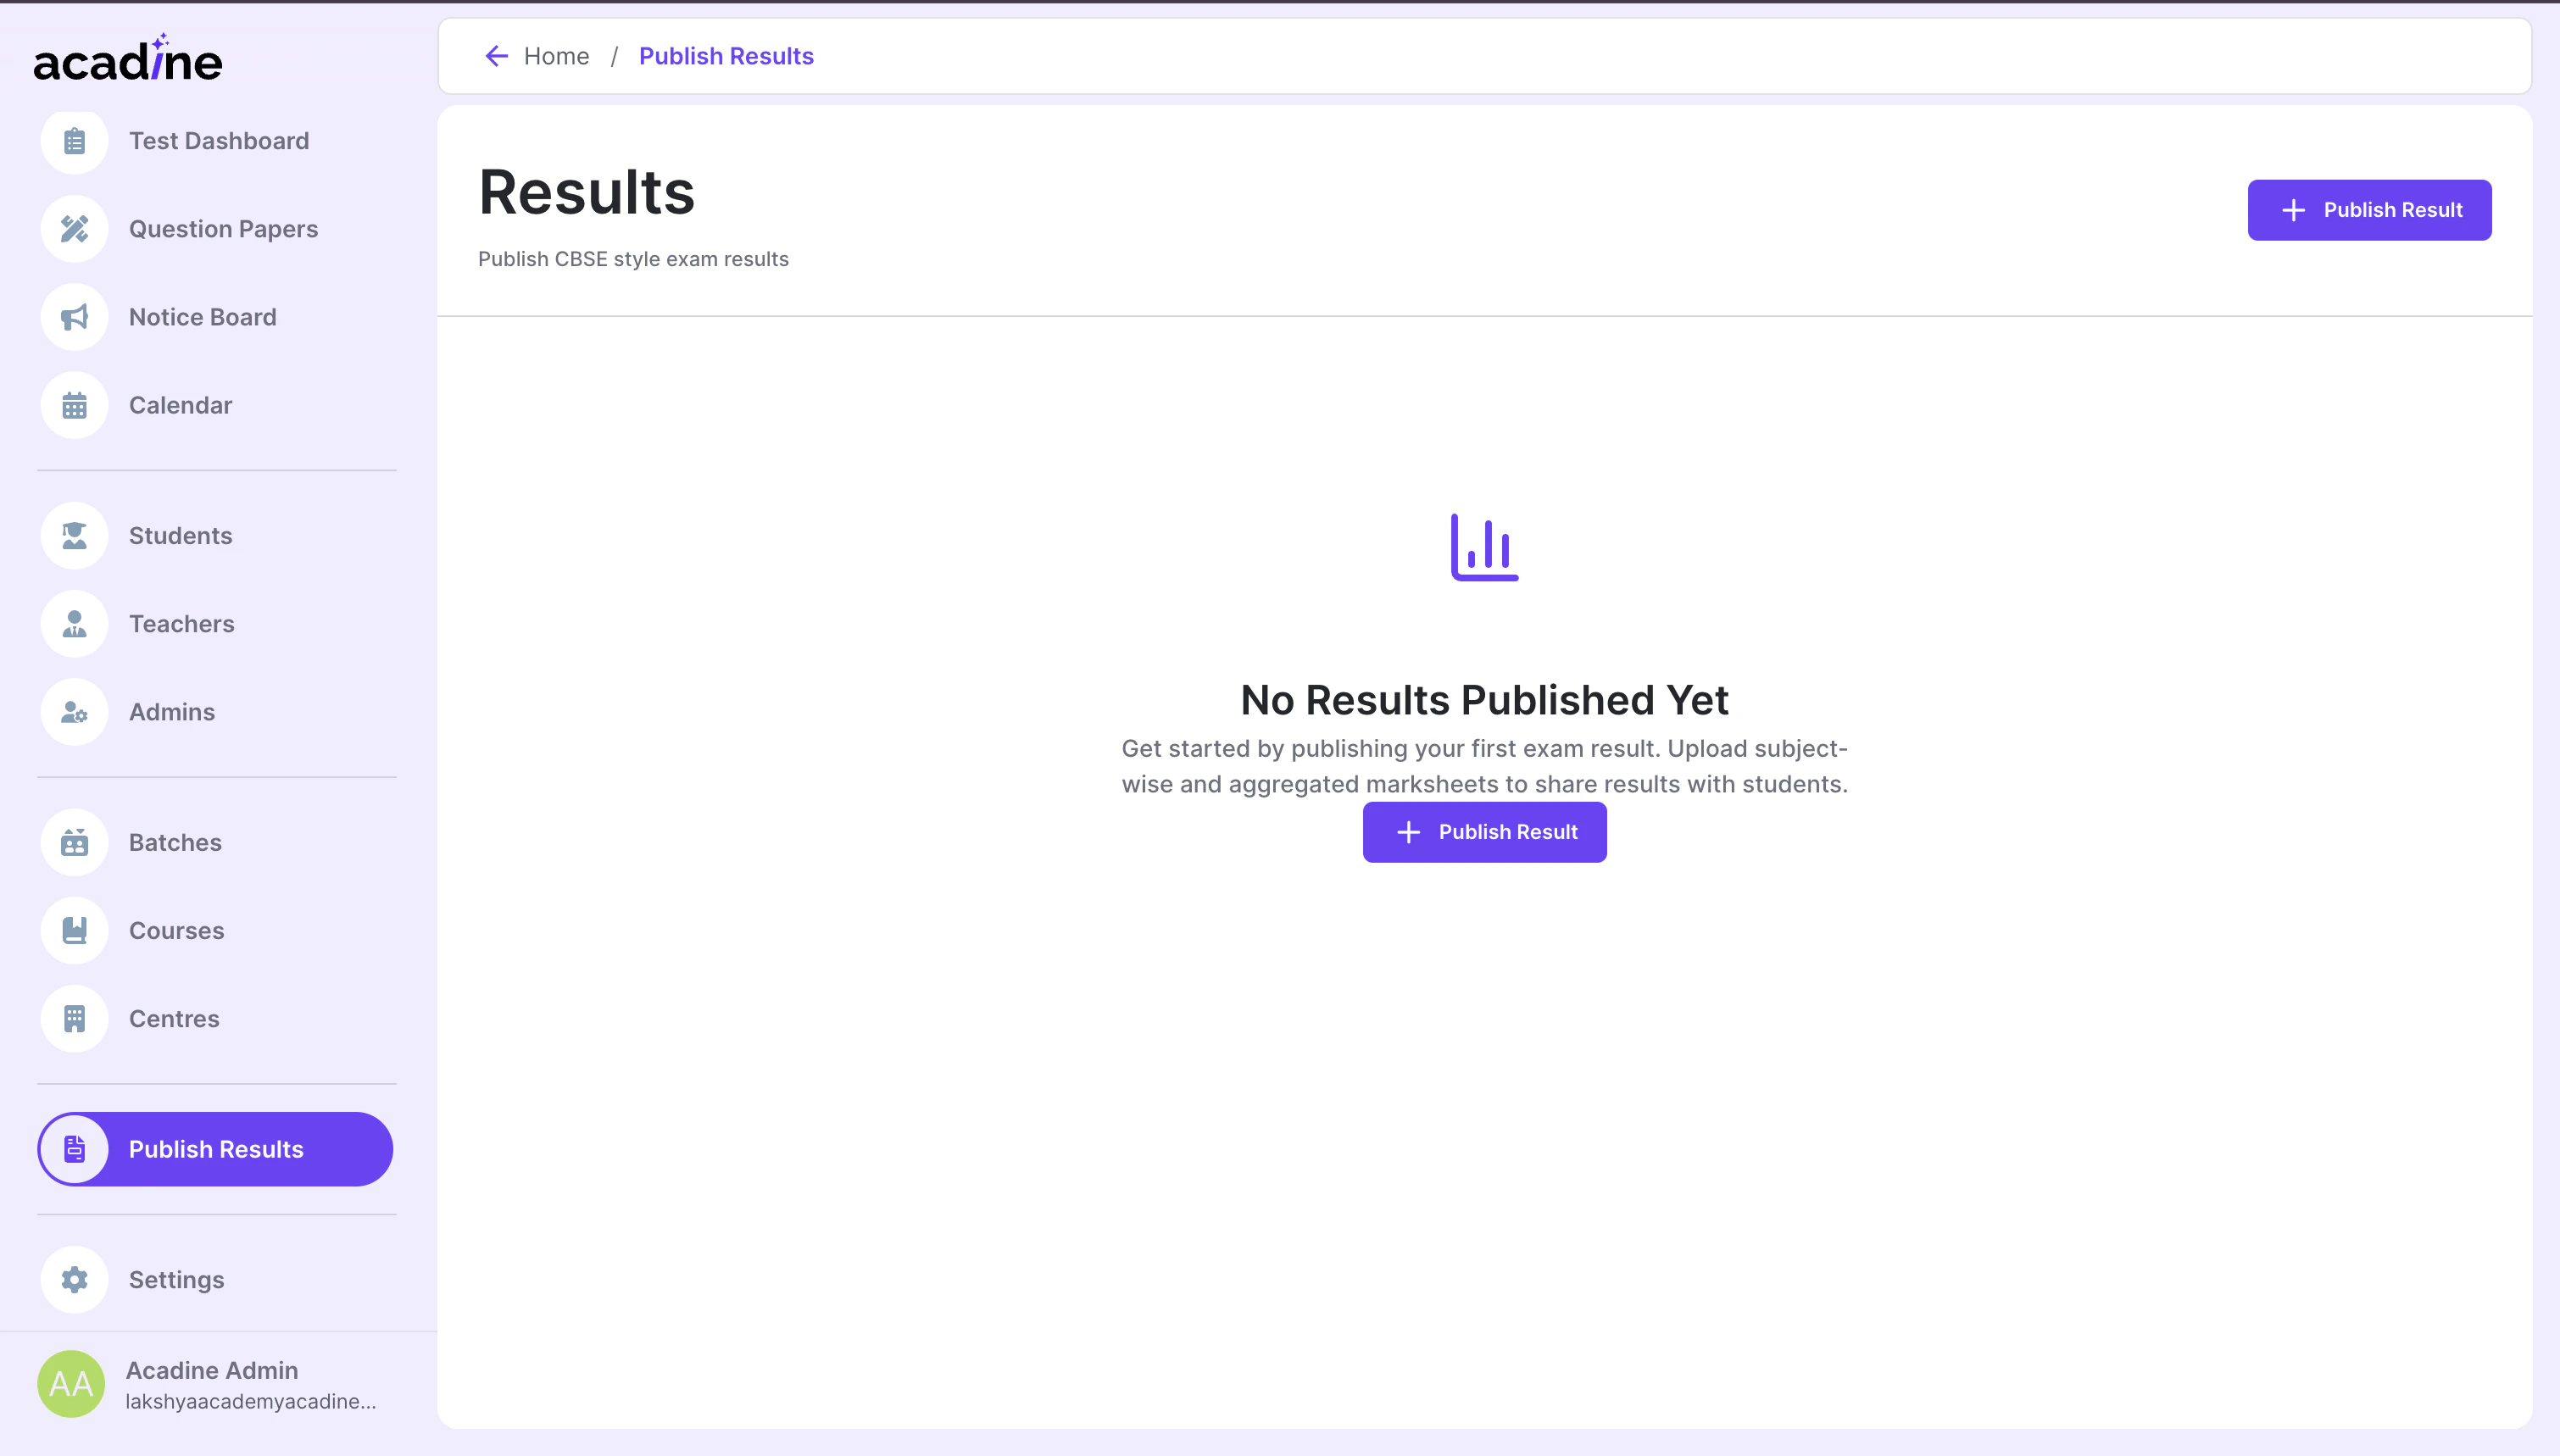
- Enter exam name (e.g., “Annual Exam 2026”, “Pre-Board III 2026”, “Mid-Term December 2025”)
- Upload Excel file - Select your prepared Excel file
- Upload DOCX template - Select your report card template
- Select tests for detailed reports (if using
{{REPORT_QR_CODE}}or{{r REPORT_LINK}}placeholders):- Choose test(s) that were evaluated through the Acadine platform
- Students can scan the QR code or click the link to view detailed test analysis
- Skip this if you don’t have these placeholders in your template
- Review the uploaded data
- Confirm and publish
- Refresh the page after a few seconds - status should change to “Published”
The exam name appears on the result marksheet, so choose a clear, descriptive name.
Detailed Report Features: Add
{{REPORT_QR_CODE}} for QR codes or {{r REPORT_LINK}} for clickable hyperlinks. You’ll select which tests to link during the publish step.4
Update Student Credentials
After publishing results, update student credentials so they can log in.Credential Setup: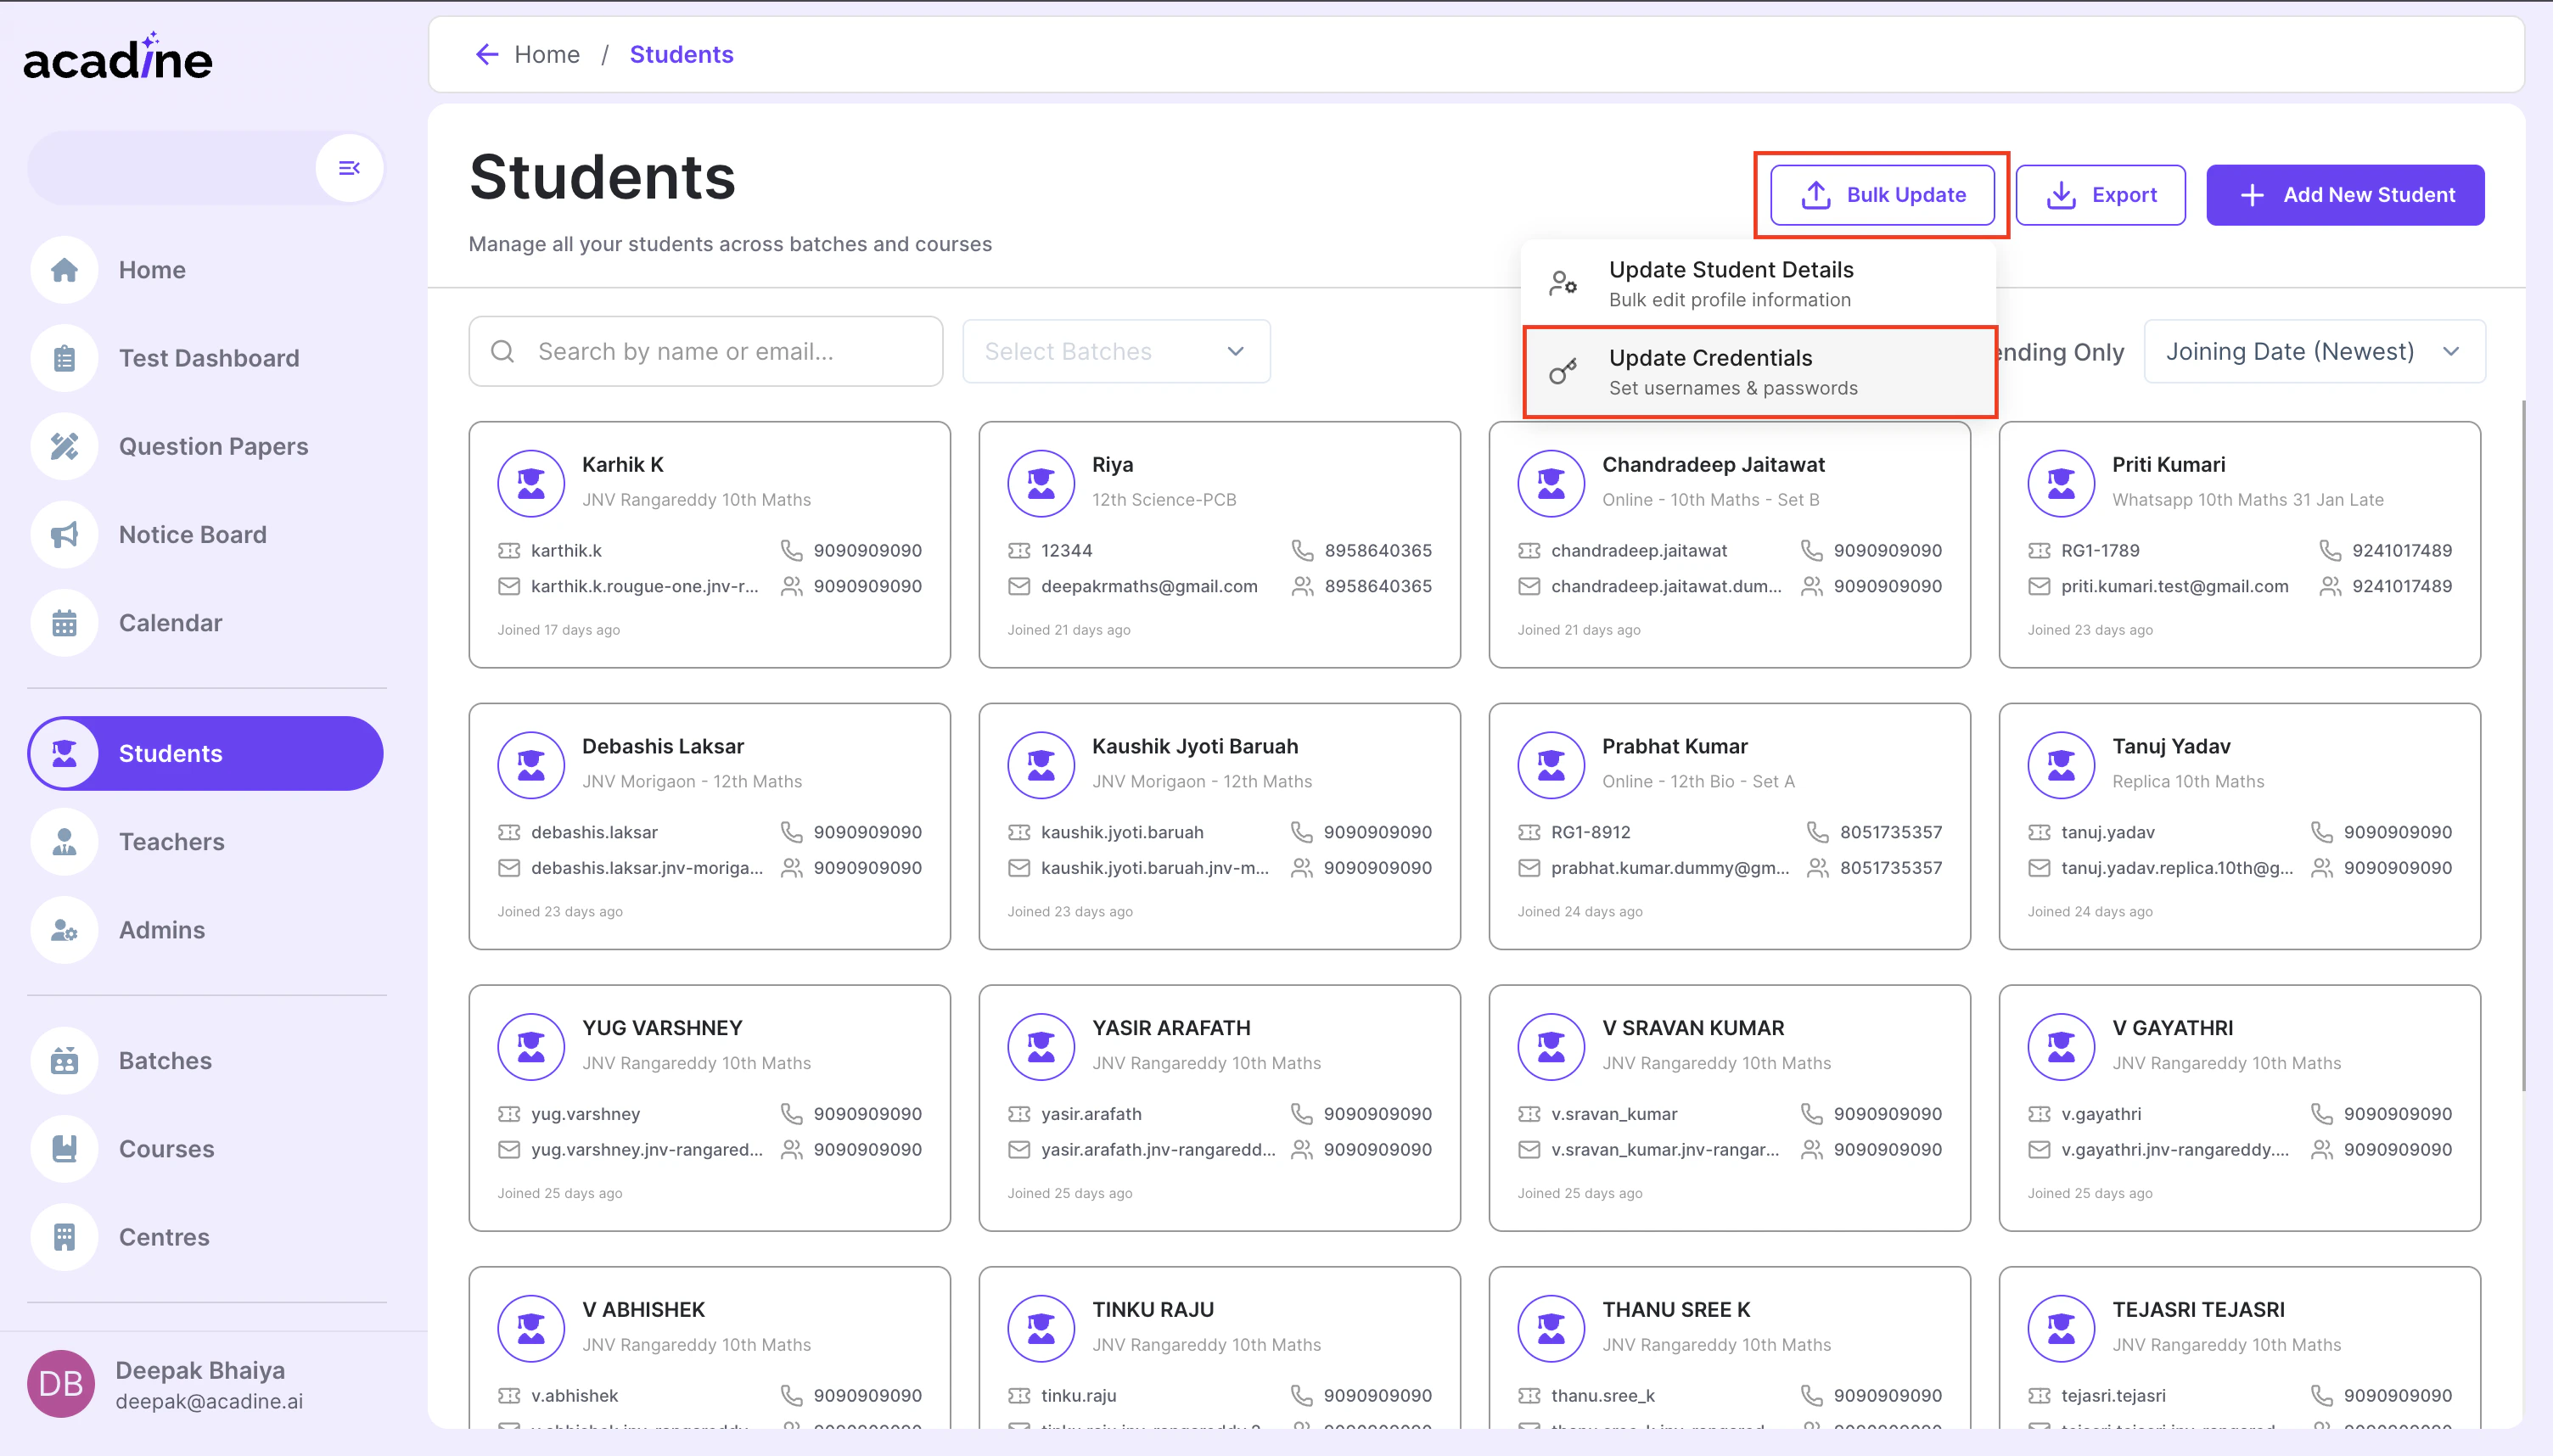
- Go to the Students tab in your dashboard
- Click Bulk Update
- Select Update Credentials
- Upload the credentials CSV file
- Wait a few seconds for processing to complete
Required columns:
User ID- Must match User ID from Excel fileUsername- Login username (must be globally unique across all students in Acadine)Password- Login password
After credentials are updated, students can immediately access their results at results.acadine.ai
5
Access Results
Students can now view their results:
- Visit results.acadine.ai
- Enter their username and password
- View their complete result marksheet with all data from your template
Understanding Column References
How Excel Columns Map to Placeholders
Excel columns are labeled with letters: A, B, C… Z, AA, AB… AZ, BA, BB… etc. Single Letter Columns (A-Z):- Column A →
{{A}} - Column B →
{{B}} - Column Z →
{{Z}}
- Column AA →
{{AA}} - Column AB →
{{AB}} - Column AZ →
{{AZ}} - Column BA →
{{BA}}
You can reference any column in your Excel file. There’s no limit to the number of columns you can use.
Best Practices
Excel File Preparation
Excel File Preparation
- Ensure User ID column exists and is correctly populated
- Use clear, descriptive column headers for your reference
- Verify data types are consistent in each column (numbers as numbers, text as text)
- One row per student (duplicate User IDs may cause issues)
- Remove any completely empty rows
- If using multiple sheets, ensure your data is on the first sheet
- Keep a backup copy of your Excel file
DOCX Template Design
DOCX Template Design
- Use column letters for placeholders:
{{A}},{{B}},{{AA}} - Test template with sample data before publishing to all students
- Include school logo, header, and branding as desired
- Use tables for structured data presentation (marks, grades, subjects)
- For QR codes, ensure
{{REPORT_QR_CODE}}has adequate space - Keep a backup copy of your template
- Verify all placeholder references match your Excel column structure
Credential Management
Credential Management
- Use User IDs as usernames for consistency
- Create strong but memorable passwords
- Keep a backup copy of the credentials CSV
- Verify credentials are uploaded before announcing results
- Consider using a pattern for passwords (e.g., UserID-pass)
Data Verification
Data Verification
- Review uploaded data carefully before publishing
- Cross-check Excel data with template placeholders
- Verify all column references are correct (A, B, C… match intended data)
- Test with sample credentials before full rollout
- Keep source Excel and DOCX files for reference
Result Publishing
Result Publishing
- Use clear, descriptive exam names
- Publish results during off-peak hours if expecting high traffic
- Announce result availability after credential verification
- Monitor the system after publishing for any issues
- Have support ready for credential-related queries
File Requirements Reference
Excel File
DOCX Template
Credentials CSV
Troubleshooting
Results not appearing after publish
Results not appearing after publish
- Refresh the page after 10-15 seconds
- Check if status shows “Published”
- Verify both Excel and DOCX files were uploaded correctly
- Check for any error messages in the upload process
- Ensure Excel file contains User ID column
Student cannot login
Student cannot login
- Verify credentials were uploaded after publishing results
- Check that username is correct (case-sensitive)
- Ensure User ID in credentials CSV matches published results
- Confirm username is unique across all students in Acadine
Placeholders not replacing correctly
Placeholders not replacing correctly
- Verify column letters match Excel columns (A, B, C… AA, AB…)
- Check for typos in placeholder syntax:
{{A}}not{A}or((A)} - Ensure Excel file has data in referenced columns
- Column letters are case-sensitive: use uppercase
{{A}}not{{a}} - Verify Excel data doesn’t have extra spaces or special characters
Missing or incorrect data in results
Missing or incorrect data in results
- Verify Excel User IDs match Acadine-generated User IDs
- Check that referenced columns contain expected data
- Ensure DOCX placeholders use correct column letters
- Review Excel file for empty cells or formatting issues
- Check if data is on the first sheet (if multiple sheets exist)
QR code or report link not appearing
QR code or report link not appearing
- Verify template contains
{{REPORT_QR_CODE}}or{{r REPORT_LINK}}placeholder - Check that you selected tests during the publish step
- For hyperlinks, ensure you used
{{r REPORT_LINK}}(withrprefix), not{{REPORT_LINK}} - For QR codes, leave adequate space around the placeholder in template
Need help with result publishing? Contact us at support@acadine.ai